There are 2 reasons to photograph the aurora. The first is the same reason you’d photograph anything amazing, to preserve the memory and share with others. But the 2nd reason is the northern lights show up much clearer in a picture than they do to the naked eye. This is because a camera can take a long exposure, and the photons from the aurora will accumulate on the sensor, increasing their brightness. The human eye is very limited in what it can see at night. Colors especially are very washed out, but they will show up much better with a long exposure on a camera. Sometimes you may be unable to tell if you are looking at the aurora or something else, but you can use a camera to confirm what you’re seeing. So how do you capture the aurora borealis? Keep reading to find out.
Required Gear:
- A camera with manual controls (a DSLR or other large sensor camera is best)
- A sturdy tripod
- A fast, large aperture lens (f2.8 or better) is ideal. In mid-latitudes, I’ve found that a normal wide-angle lens is usually sufficient. Most of the time the aurora will only cover a portion of the northern sky. But at higher latitudes, an ultrawide angle lens is much better. The northern lights often illuminate the entire sky, so you will want to fit as much in the frame as possible. An ultrawide lens also makes it easier to include the landscape in your shot.
Optional:
- Interval timer (some cameras have them built in)
- Wireless remote (you can also use the 2 second timer on the camera)
- Handwarmers (If you are in a humid climate, strapping these to the lens hood will keep dew and frost off the glass)
The Basics
Because light pollution will drown out the aurora, it’s important to find a shooting location that is dark to the north. Use this map to help you find a spot.
Focusing
The focus on your lens needs to be manually set to infinity. Autofocus will not work at night. Most lenses will have an ∞ symbol, but sometimes it will be touchy and not line up exactly. It may take some trial and error to get it just right. If your camera has live view then you can try zooming in and manually focusing on a bright star or a distant light.
Camera Settings
This is an example of the settings you might start with.
- White Balance: Fluorescent or Incandescent. If you are shooting in RAW you can leave it on Auto since this can be adjusted later.
- Aperture: Wide open or stopped down half a stop
- ISO: 6400
- Shutter Speed: 10 seconds
- Turn off image stabilization/shake reduction.
- Use the 2-second timer or a remote release to prevent camera shake.
6 seconds, f/3.5, ISO6400, 14mm

But these settings can vary depending on the conditions. If there is too much light pollution or bright moonlight, then the ISO will need to be lowered or the aperture stopped down to prevent overexposure. This will help improve image quality as well. If it’s a dark night and your camera handles noise well, then try pushing the ISO even higher. Shutter speed is the biggest variable. For other types of night photography you might be using exposure times of 30 seconds. But the problem is the aurora moves, and thus it will blur if the exposure is too long. Although if the aurora is mostly stationary, you may want to experiment with longer shutter speeds. Most of the time, I use a shutter speed between 6 and 10 seconds. Usually the features of the aurora will not move too much during that time. But this is in mid-latitudes. In higher latitudes the northern lights will move much faster, and those shutter speeds will be too long. But it will also be much brighter, so you can decrease your shutter speed while still getting an acceptable exposure. In high-latitudes, try exposure times between 1 and 5 seconds, depending on the motion and brightness.
Framing
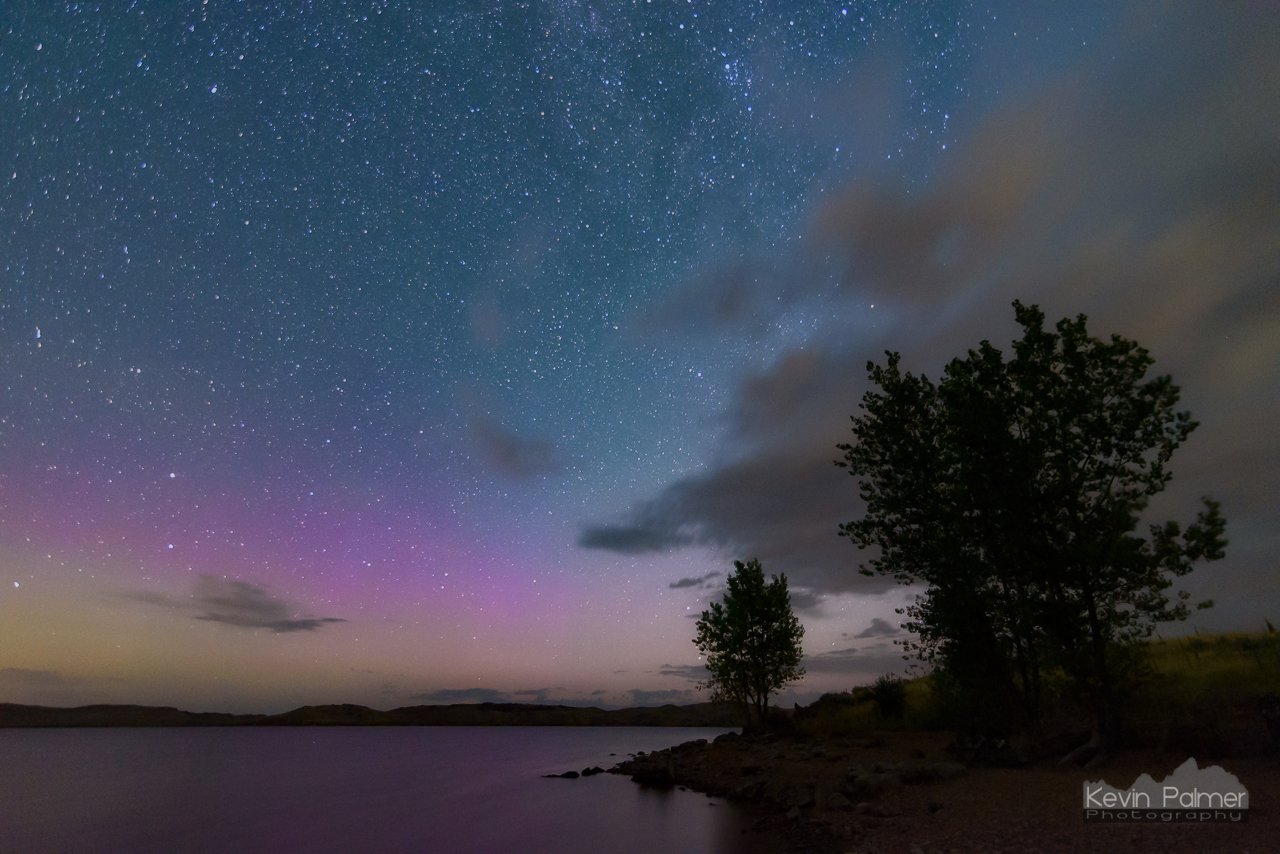
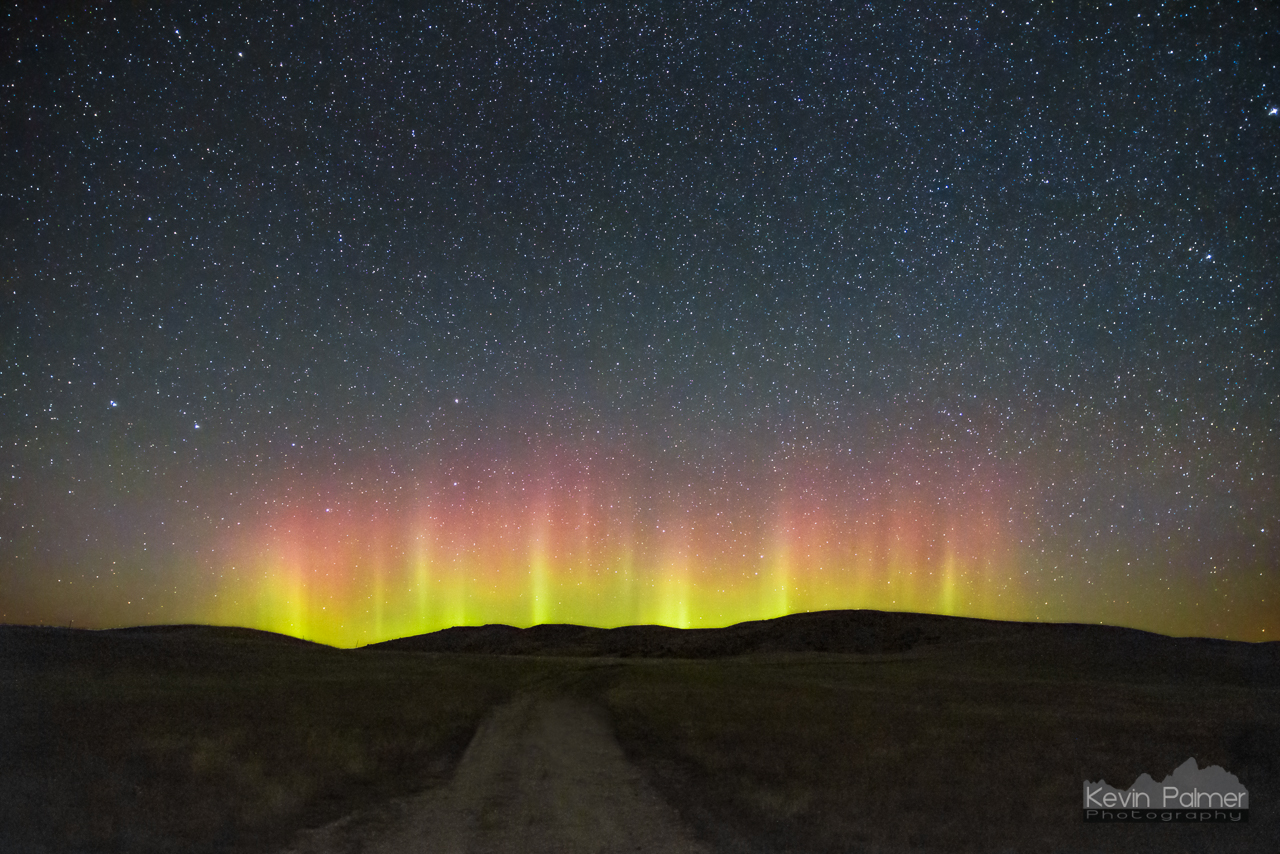
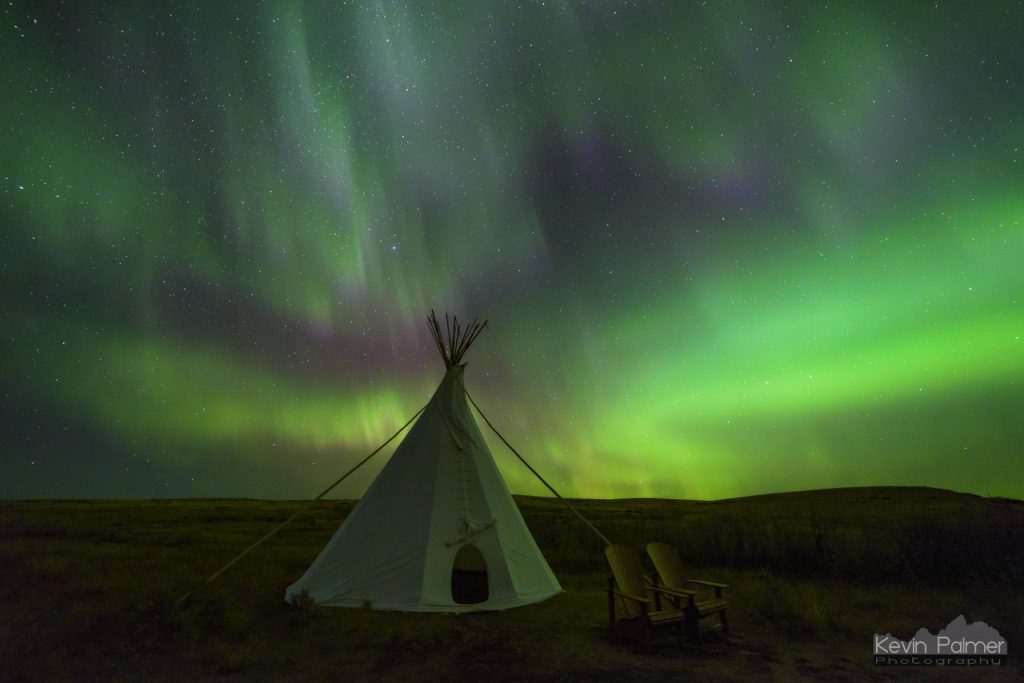
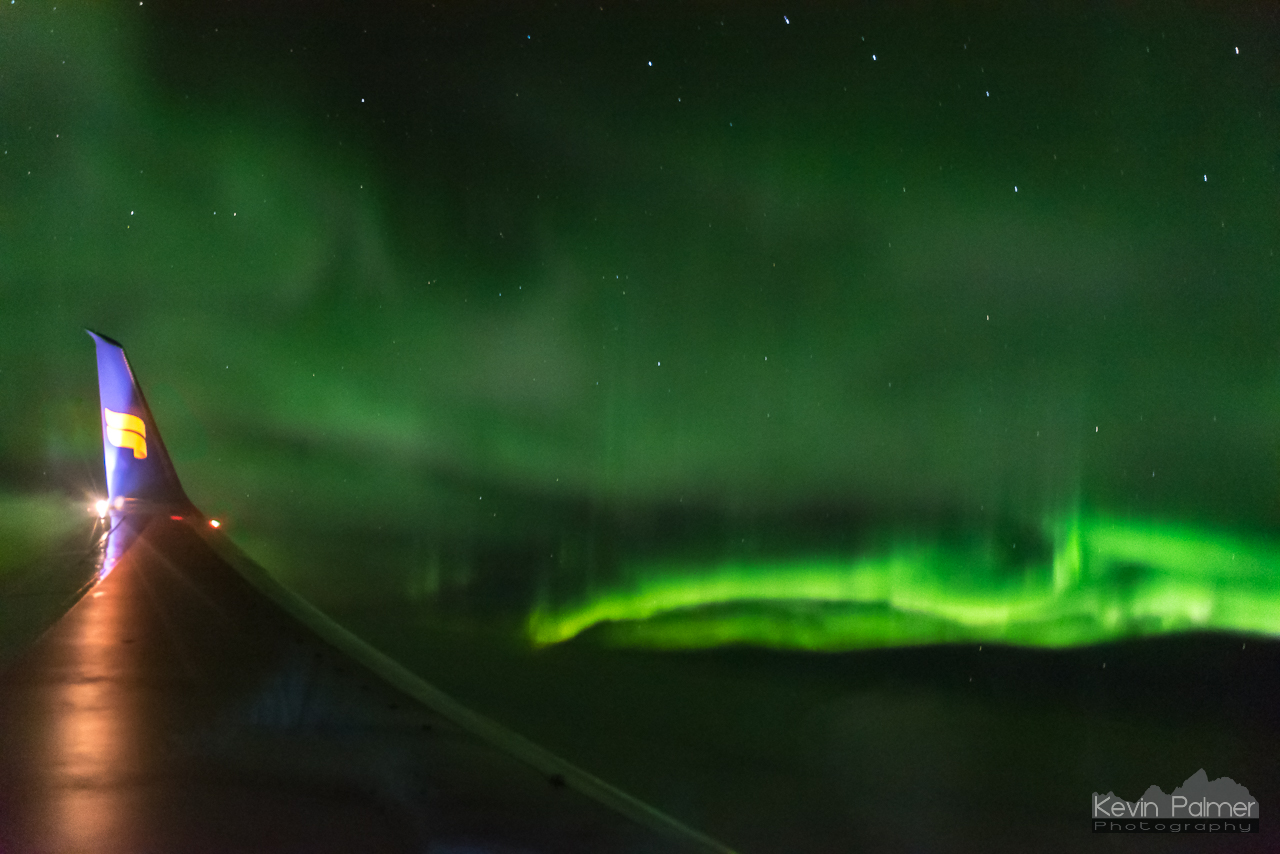
Including an interesting foreground will make for a better picture. Look for a lone tree, two-track road, barn, mountain peak, etc. to include in your composition. But it’s usually best not to have too much of the sky blocked. Again, an ultrawide angle lens makes it easier to include everything in your picture. When there is no moonlight, you may capture nothing more than a silhouette against the sky. The darkness and shorter shutter speeds make it difficult to show much detail. But on moonlit nights, it becomes easier to capture detail in the foreground, even if the northern lights become a bit washed out. If it’s a calm night, try catching the reflection of the lights in a small lake or pond.

Editing

Shooting in RAW will always provide the most flexibility with editing afterwards. I use Lightroom for editing, so my tips are specific to that program. Adjustments will always vary, but these are some of the settings I start with:
- White Balance – Temp: 4100, Tint: +20
If the moon is up, then the temperature should be warmer. Often the green colors will overwhelm the scene, so I adjust the tint towards magenta. - Increase the shadows to +30 or so if there is any detail to be recovered in the foreground.
- Increasing the whites to around +30 will make sky pop a bit more, but watch for blown highlights.
- Sometimes the aurora is colorful enough as is, but if not increase the vibrance a bit.
- If the aurora is too faint or mixing with light pollution, you may try changing the saturation or hue for just the color green or magenta (under HSL). But be careful not to overdo it.
- A noise reduction of 20-50 will be necessary depending on the camera and the ISO used.
- The dehaze slider is a good way of increasing the contrast in the sky. But don’t overdo it or it will mess up the colors and lose detail in the shadows.
Coming Soon: How to Shoot a Time Lapse of the Aurora